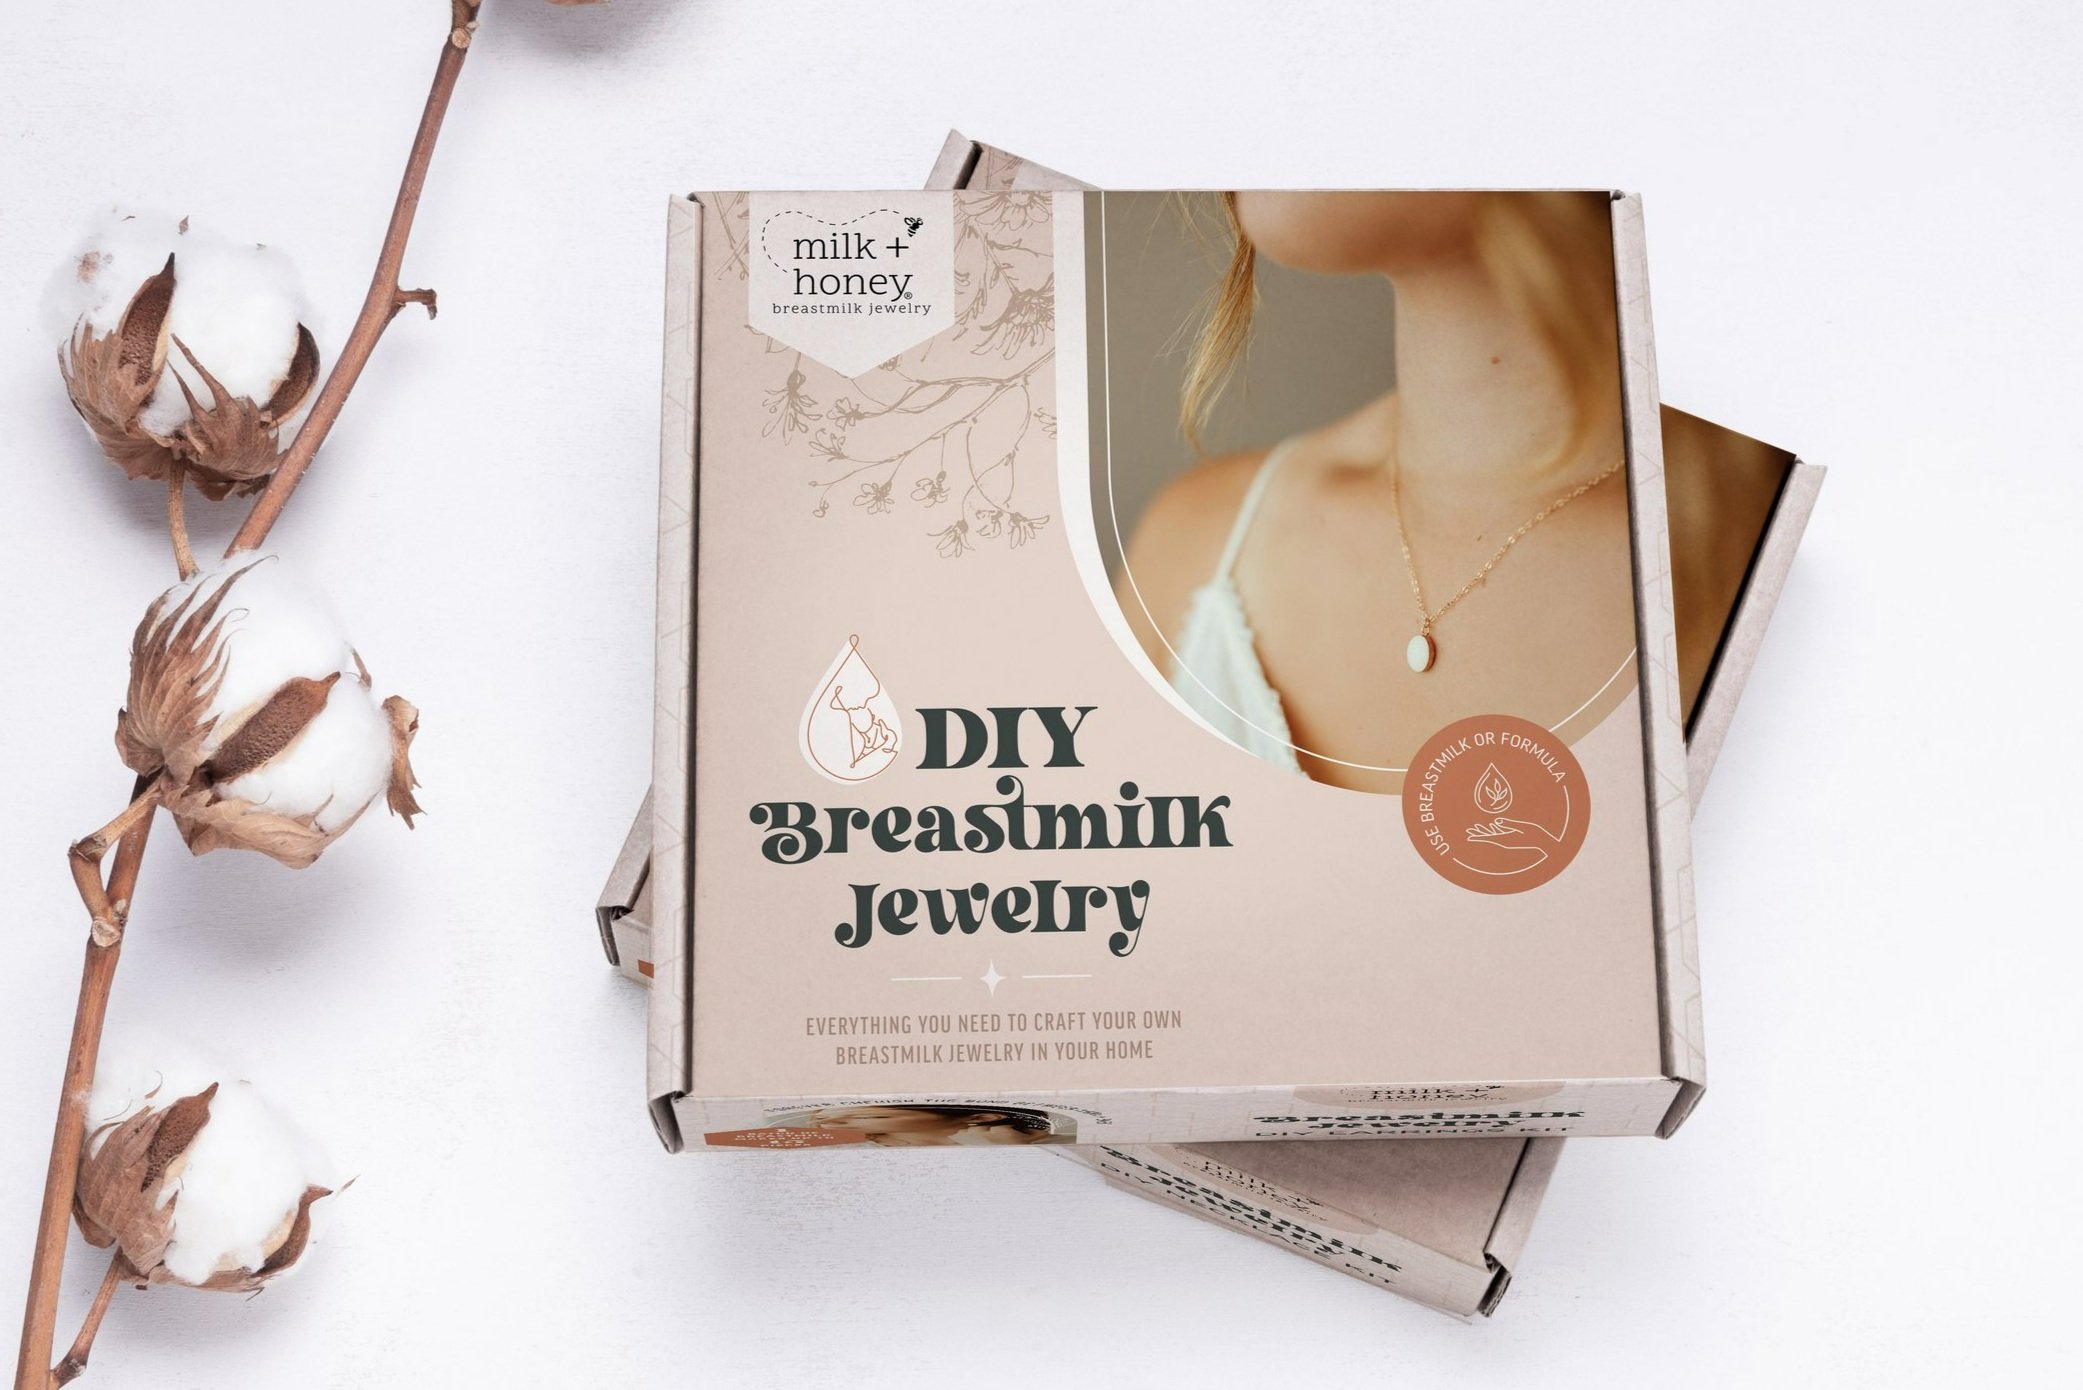
How to Make your Own Breastmilk Jewelry using our DIY Kit
You’re probably wondering how easy and foolproof our DIY kit is. You might be nervous to mess up such an important and intimate piece of jewelry! Either that, or you’re just thrilled at the idea of making something fun and unique for yourself (maybe you’re a crafter or DIYer!). Either way, I’ve got the answers for you today!
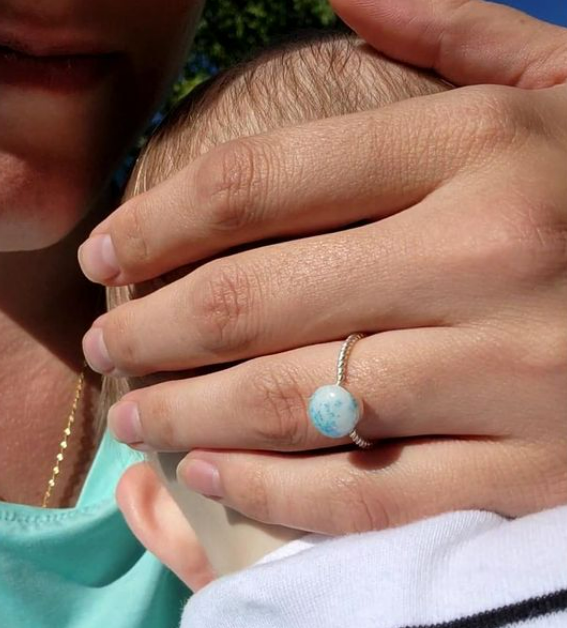
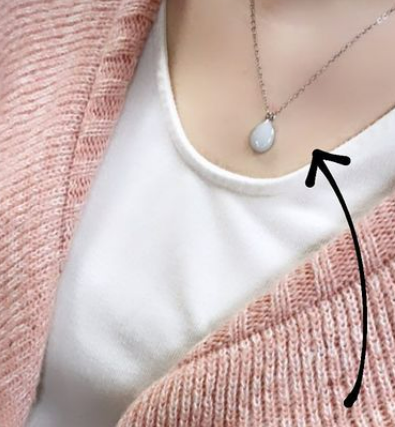
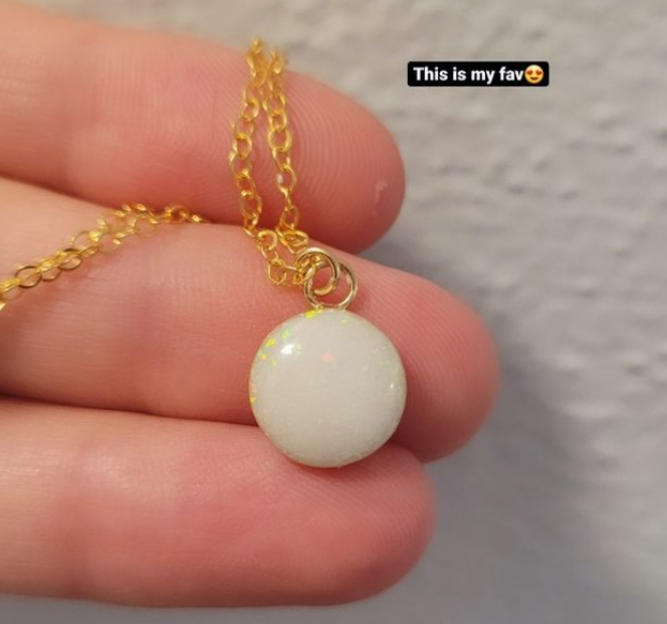
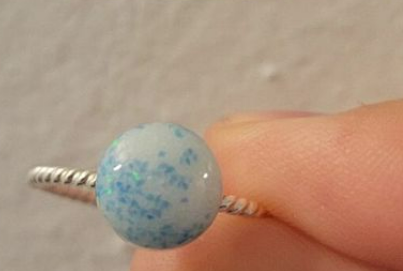
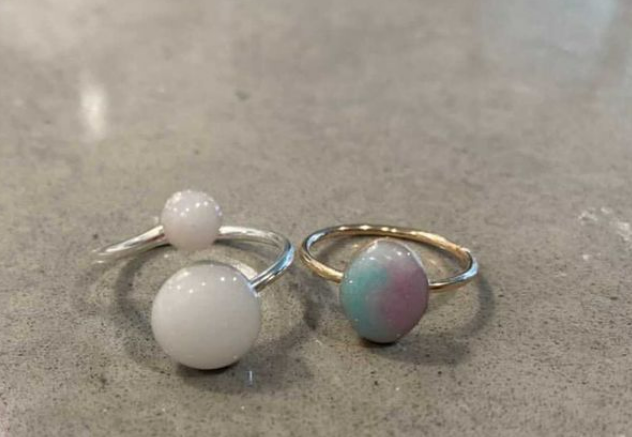
We began offering our simple and affordable DIY kit over a year ago, and our customers have had some pretty impressive results! Scroll to the bottom of this post to see some of our customer’s jewelry! When we created this kit, the goal was to keep it as simple as possible for our customers to master. Believe it or not, even though I (Maria) started this business, and own it with my partner, Meghan, I had never made a single piece of jewelry! I run the “business” end of our company, so jewelry crafting is just not one of my responsibilities or skills. Pair that with the fact that I’m not super crafty and have zero experience with visual art at all, let alone jewelry crafting, and I thought to myself:
If we can create a DIY kit that *even I* can complete successfully, then we’ll sell it!
The beauty of the DIY kit (in addition to the fact that you created something so awesome with your own two hands), is that you can save A LOT of money on your jewelry. Our kit is priced at only $148, and can make up to 15 pieces of jewelry!!!
Believe it or not, it’s VERY simple. I’m going to walk you through the process here, and include lots of photos and some video, for my visual folks :)
We provide most of the materials that you’ll need in the kit. There are a few things that you should be prepared with at home, but most people already have these on hand.
A small pan (preferably non-stick)
A stovetop
Small piece of parchment or wax paper
Small piece of scotch tape, if you’re planning to make our Milk + Honey{comb} Necklace
A small glass or metal bowl and a spoon (Or mortar and pestle, if you have one!)
Regular cleaning supplies, to clean up afterward (dish soap)
Step One will take you about 15-30 minutes. This is the process of preserving your milk, so it will last! It’s as simple as this (literally, it’s this easy!):
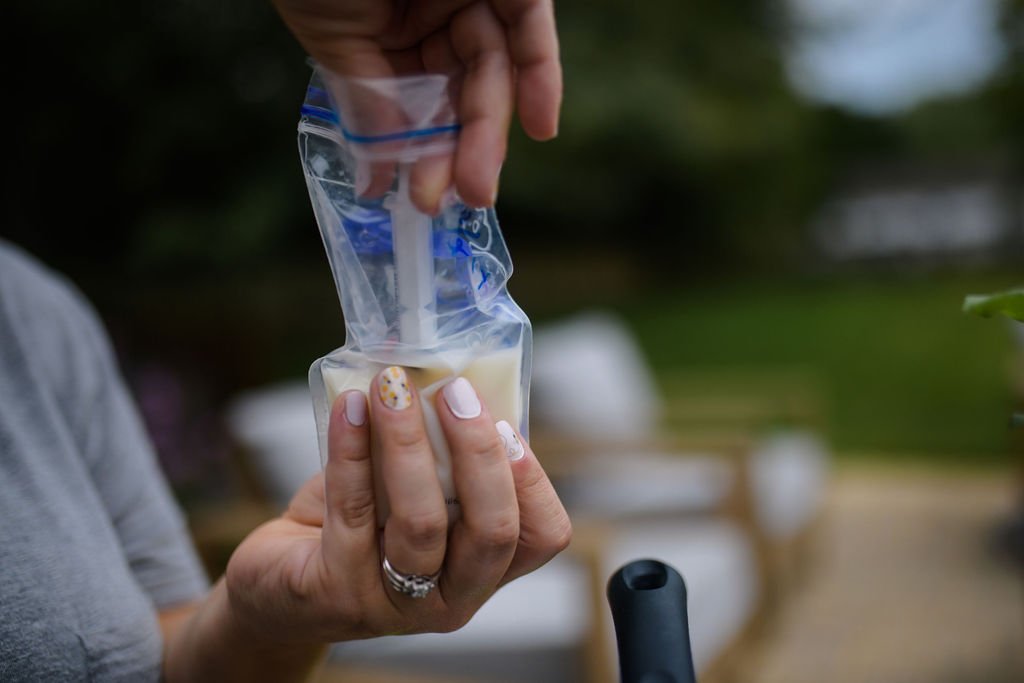
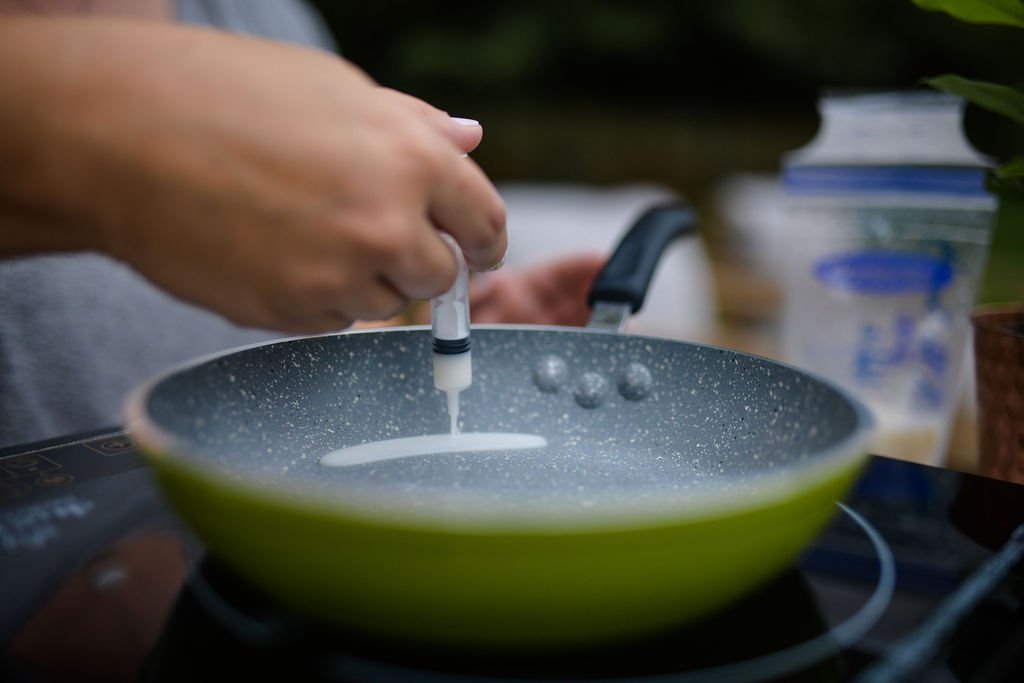
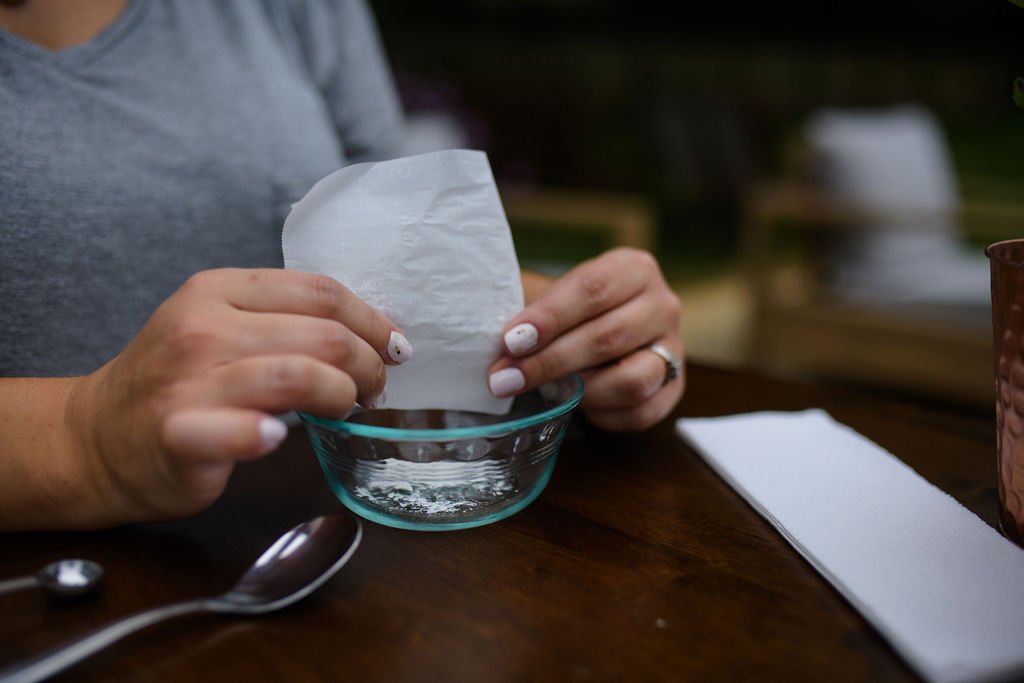
Heat the milk on low for a moment or two, in your pan on your stove.
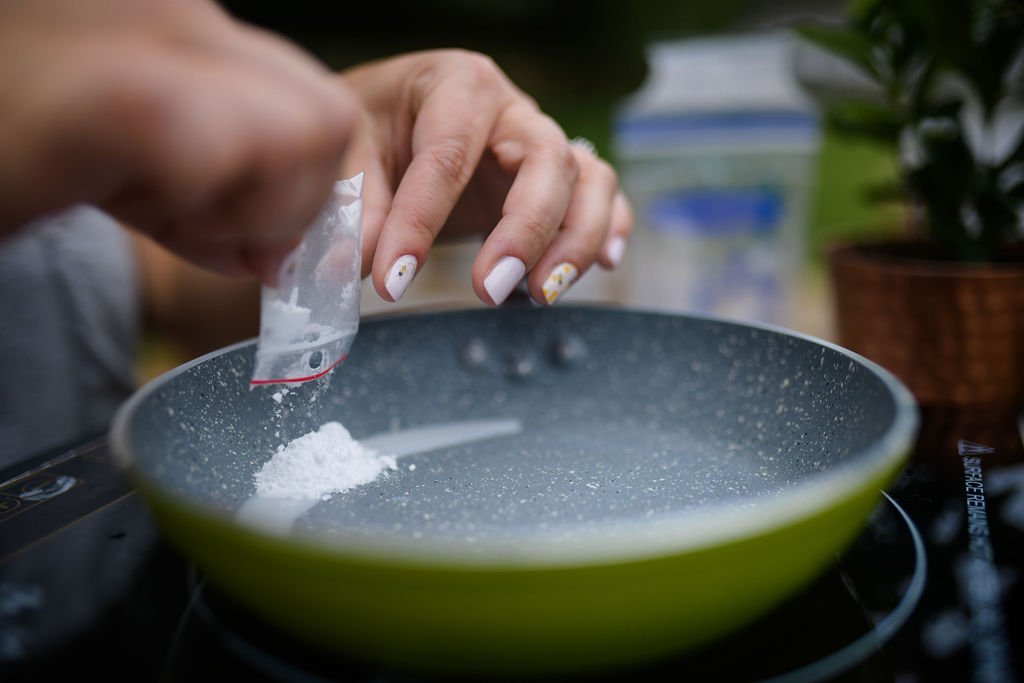
Add the breast milk preserving powder (provided in your kit)
Stir constantly for a few moments, until it forms a toothpaste consistency.
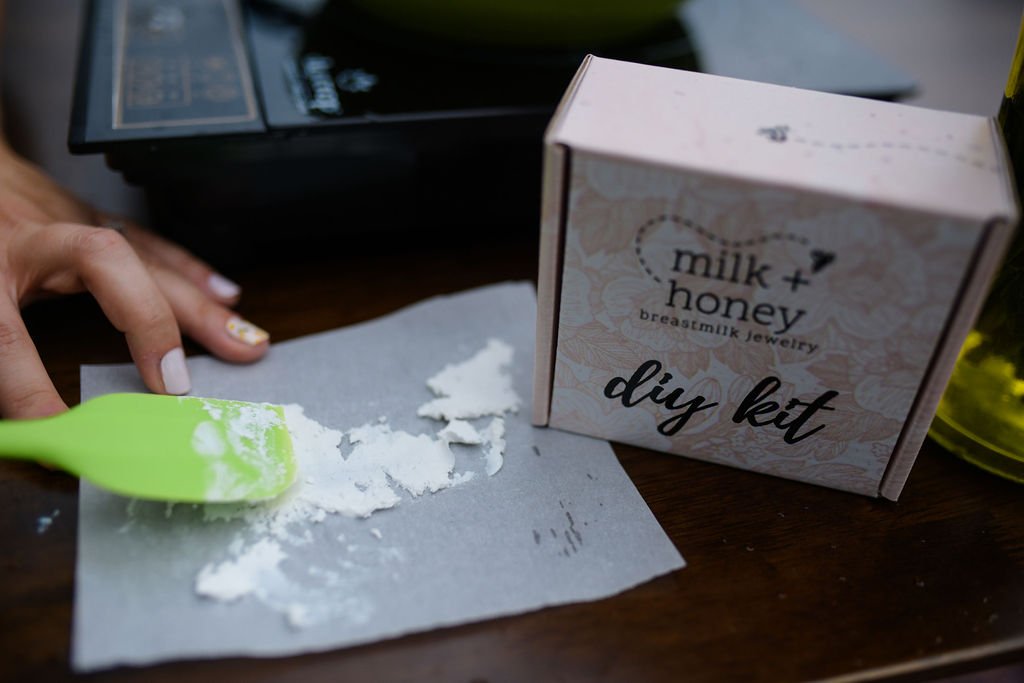
Wipe the breast milk paste onto the parchment paper
Set aside in a safe place while it dries out.
You’re done. I’m serious! We include a *very* detailed handbook with our kit, which outlines these steps with more specific details, but essentially, that’s Day One in a nutshell. You’ll have to wait about 48 hours for your milk to completely dry, before moving to Step Two.

Step Two can be done all at once, or it can be broken into separate days. The first goal is to get your milk crushed into a fine powder. Then, it’s just a matter of making your jewelry. Crushing your milk should definitely happen sooner than later, because if you wait, it may become so hard that it will be difficult to crush (ask us how we know lol!). So, at least get your milk crushed and put in a little baggie for safe keeping, and then craft your jewelry whenever you’re ready!
How to crush your milk (this step should take only take 10-20 minutes):
Empty all of the dried milk paste into your glass bowl (or mortar)
Using the back of your spoon (or your pestle), crush your milk until it’s in a fine powder–you’re aiming for powdered sugar consistency!
Carefully spoon your crushed milk into a baggie. Then you’re done!

When you’re ready to make your jewelry, take a deep breath and say “I’ve got this”. Then give it a go.
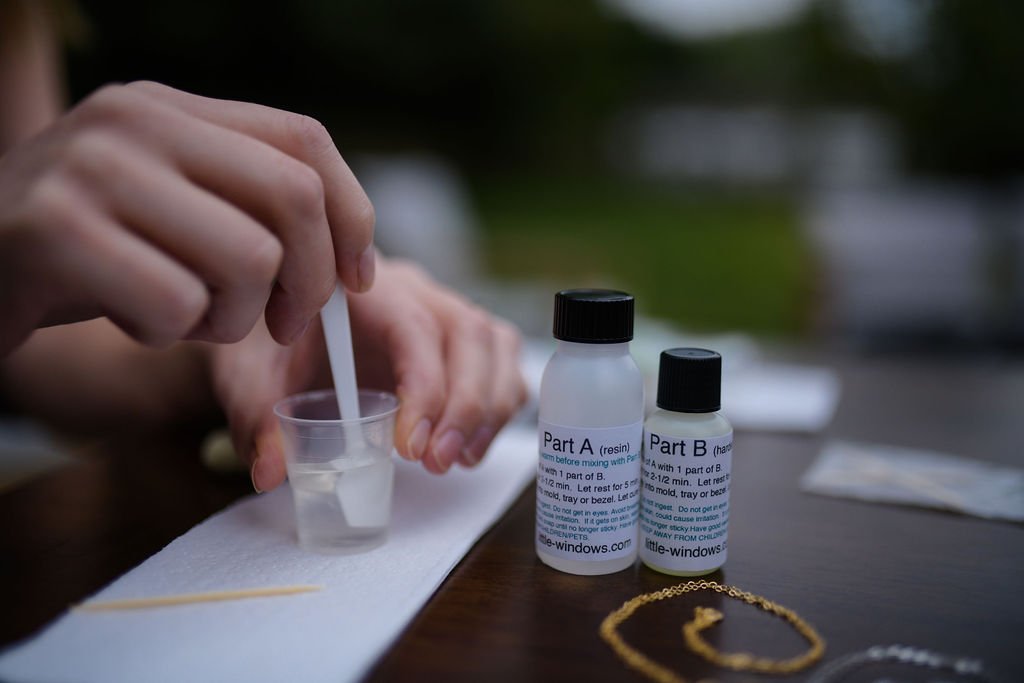
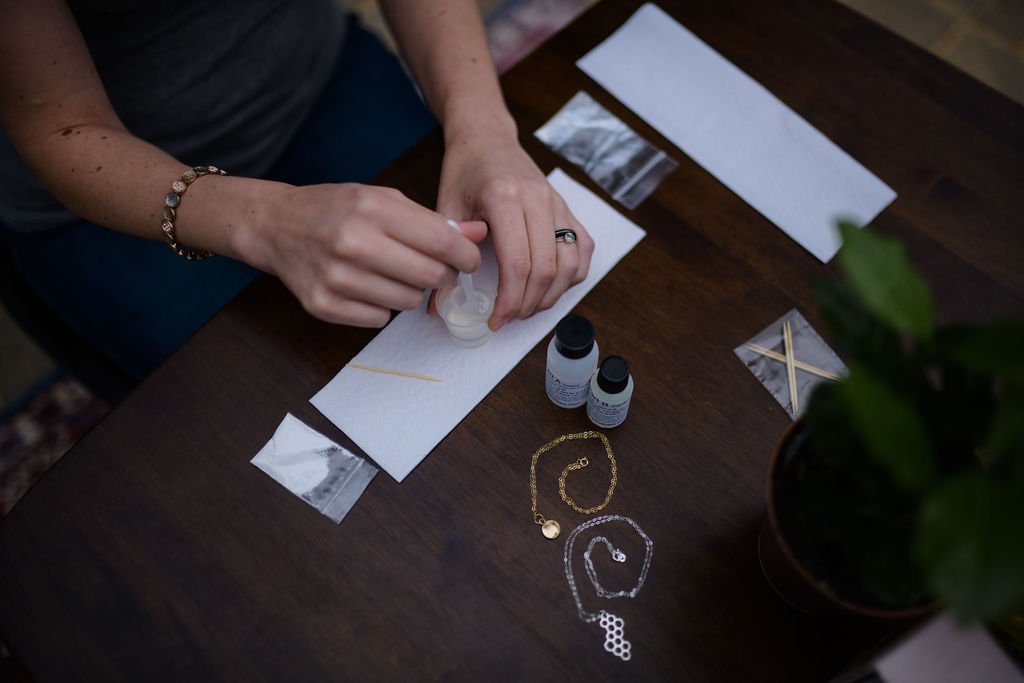
Set up your jewelry and all of your supplies.
Mix Part A and Part B of the jeweler’s resin into your measuring cup and stir for 2.5 minutes.
Let it rest for 5 minutes.
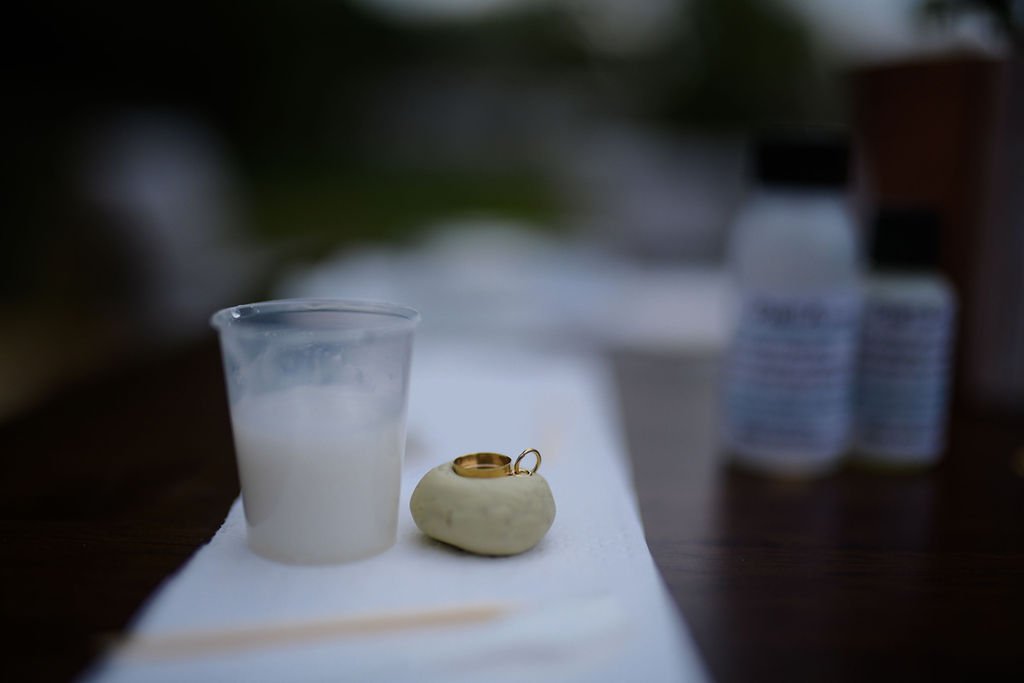
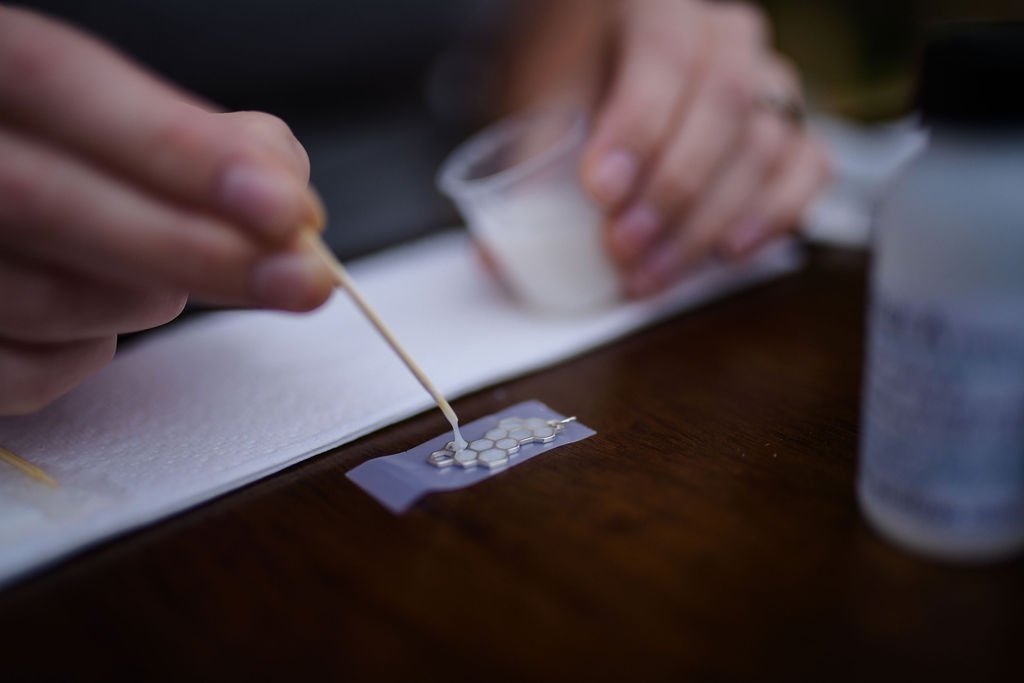
Add your breast milk powder to the resin mixture, along with any additional inclusions (we provide pearl shimmer and white pigment with the kit, but you can find a list of our favorite flakes, pigments, and other inclusions on Amazon!)
Using your provided tools (toothpicks and plastic spatula), carefully drip the resin mixture into the jewelry cup or cells, a little at a time. Be careful not to break the surface tension as you get close to the top (see the video below). Keep filling until you get your desired “dome” top on your jewelry.
Let your jewelry sit in a safe place for 72 hours to cure, and then show it off!!!

I know that sounds insanely simple and easy, and it’s because IT IS.
Of course, our handbook provides many more details and clarification, so all of your questions are answered. If you want to add other inclusions (lock of hair, placenta powder, dried flowers, flakes or glitter, colored pigments, etc), our handbook gives simple instructions for including those as well. You can also head over to our Amazon Storefront and check out our recommendations.
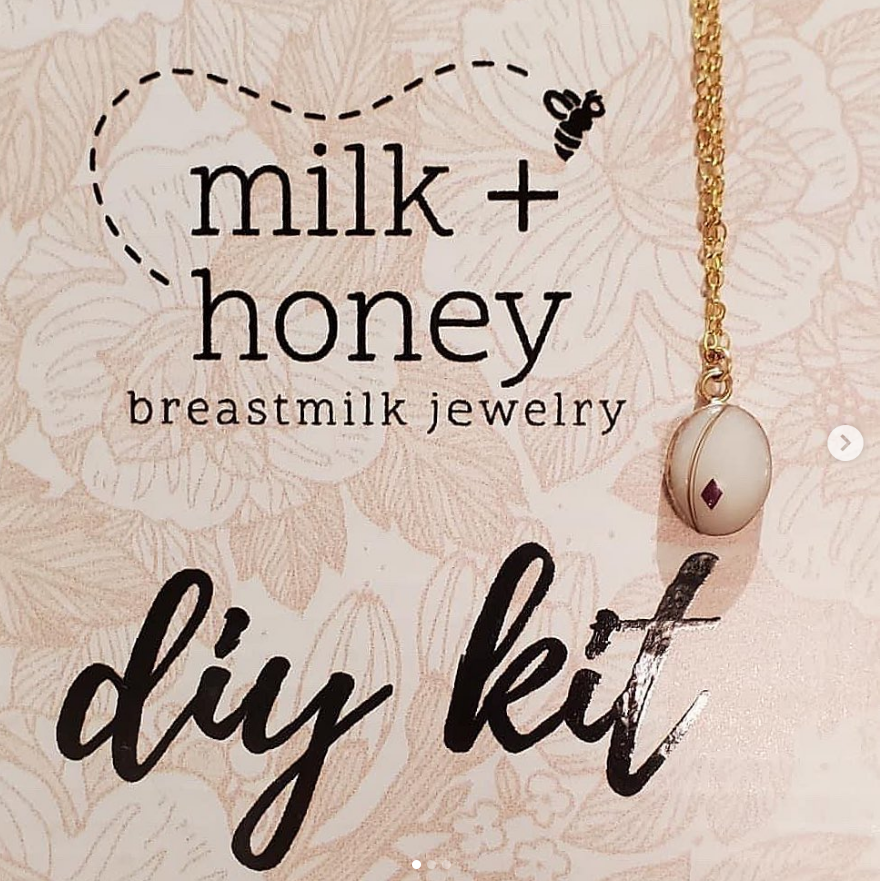
If you want to learn more about what our DIY kit offers, head here to see! You can purchase your DIY Kit with the choice of an Oval Necklace (available in silver, 14k yellow gold fill, and 14k rose gold fill) or our Signature Silver Milk+Honey(comb) Necklace (exclusively available on our website). Our handbook provides information on where to source other jewelry for your kit if you’d like to add to your collection. For a deep dive on sourcing jewelry for your kit–including a whole budget breakdown, click the link below! :) Drop your questions in the comments below!
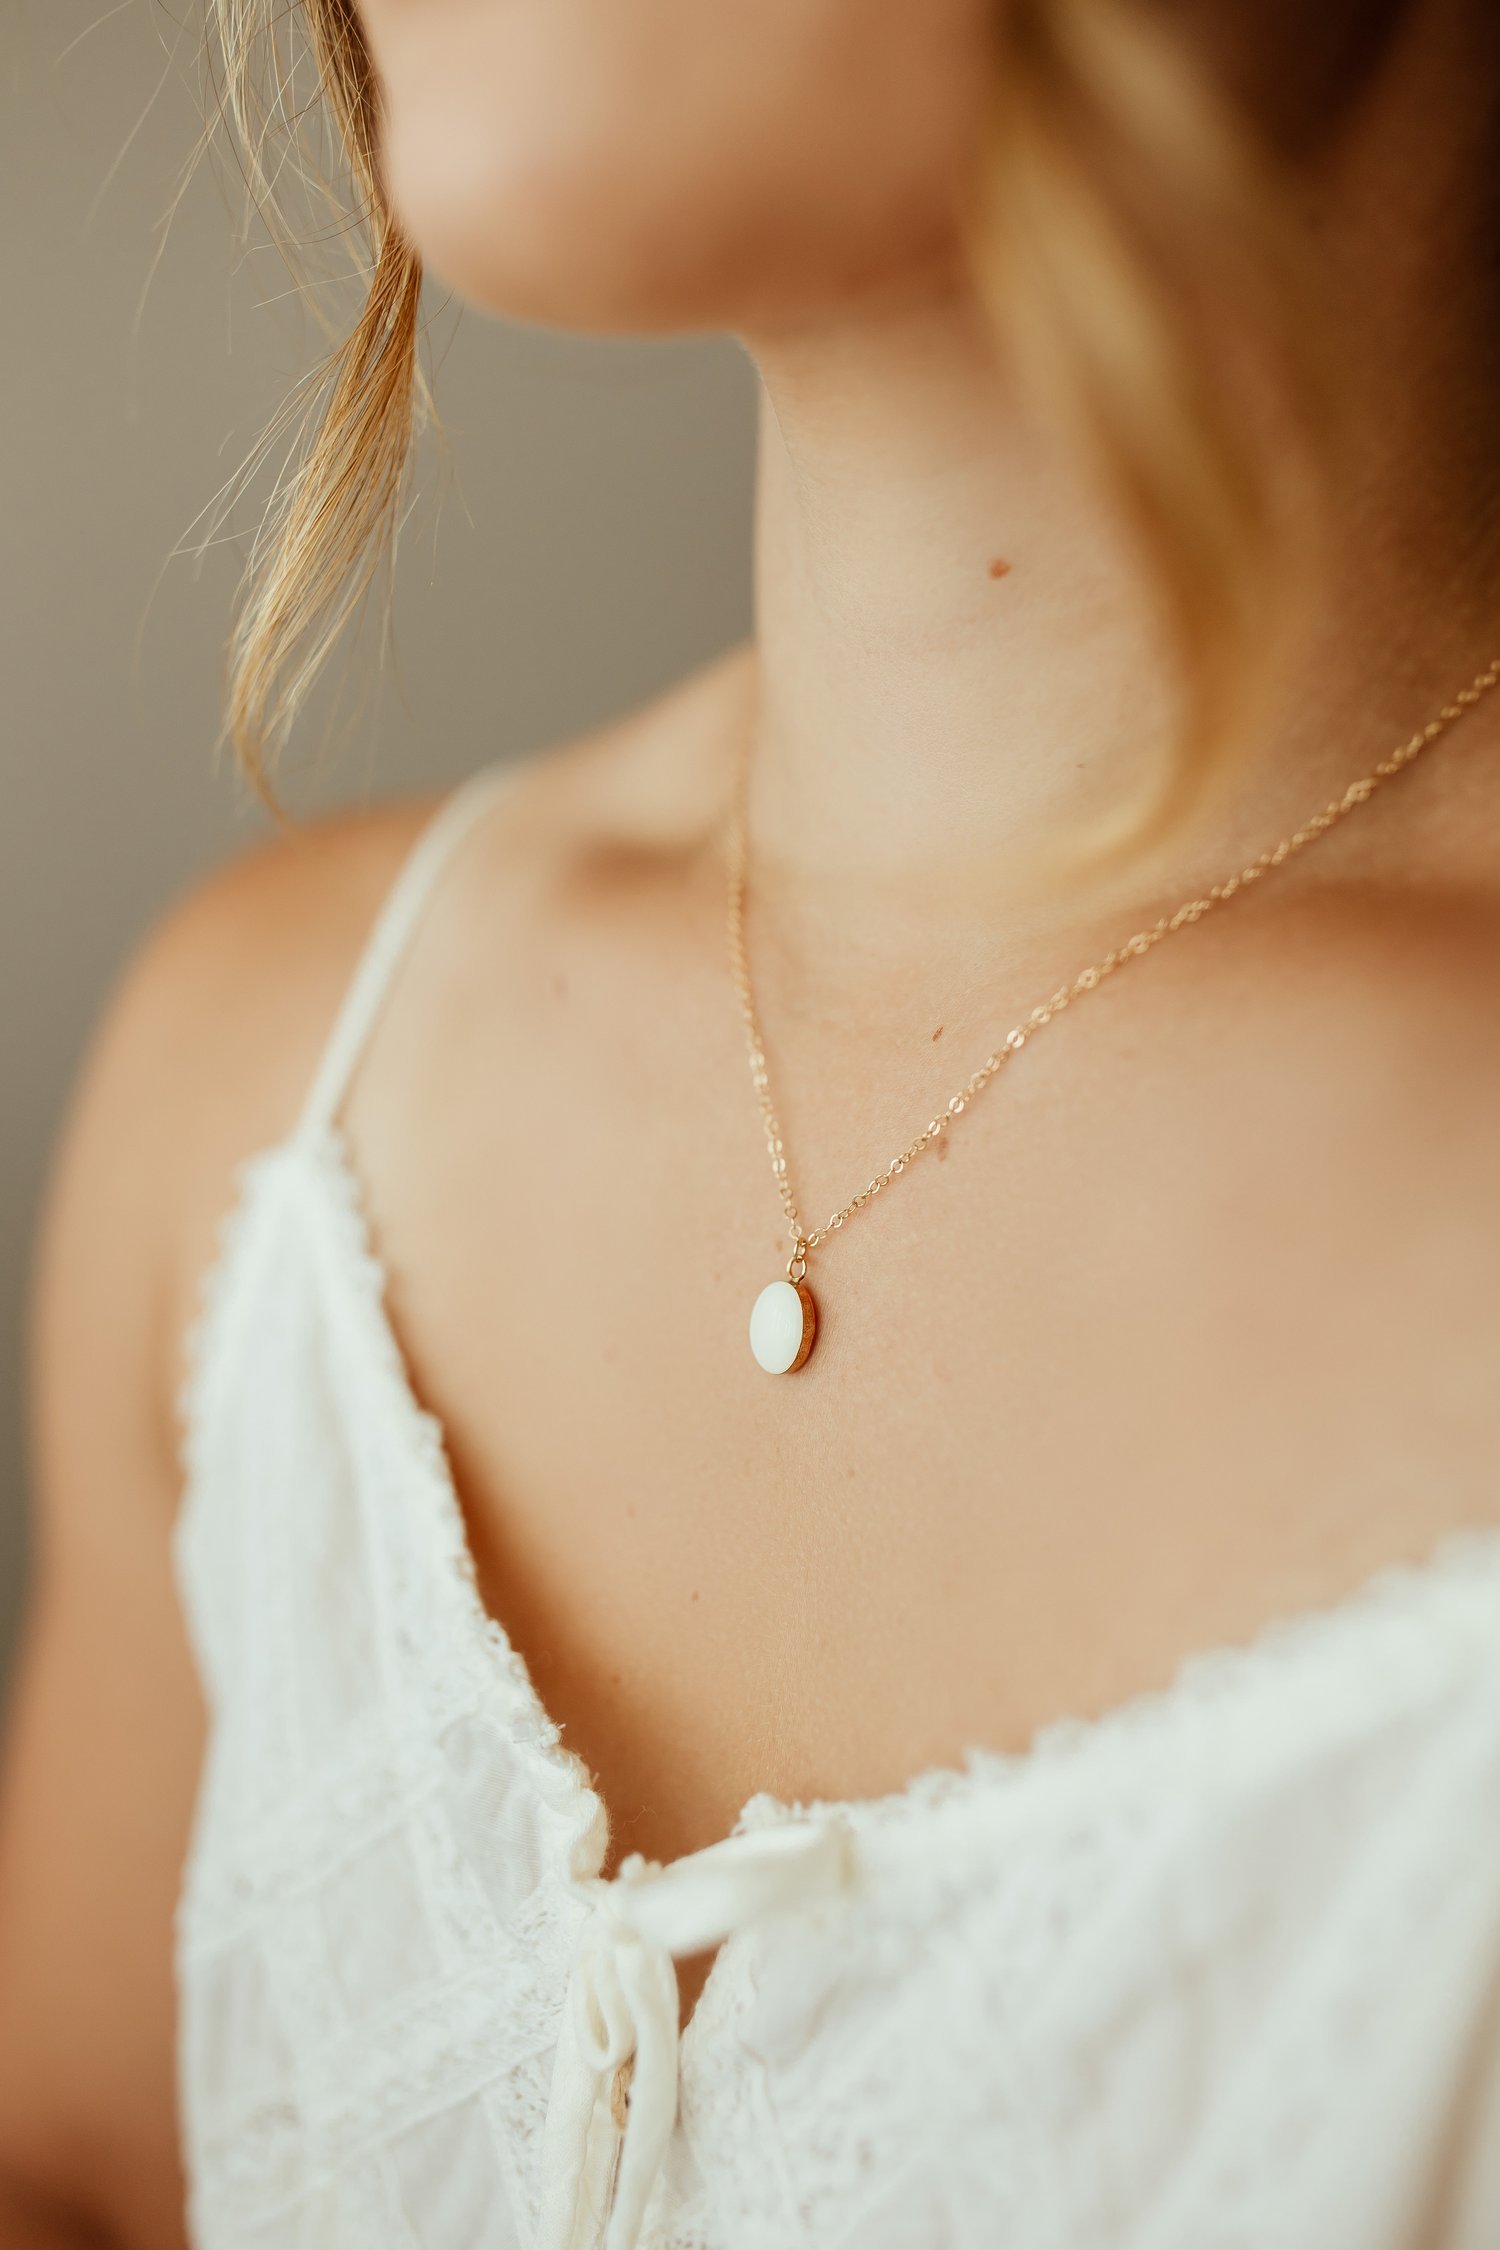
Yellow Gold Oval Charm Necklace

Silver Signature Milk+Honey(comb) Necklace
xo,
Maria